
Designing a Cascade.
California Juniper. (Juniperus Californica.)
This blog post tracks the progression on my California Juniper Cascade. Everybody loves a good Cascade (Kengai.) There’s just something magical about a tree that appears to be hanging on for dear life, precariously cantilevered over the pot.
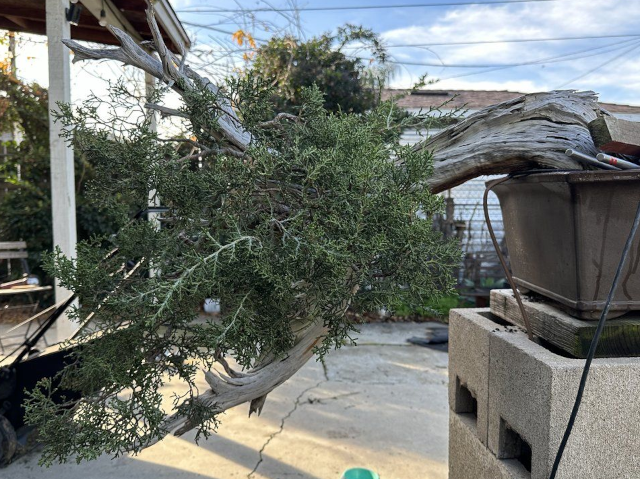
Before the work.
This is a tree that belonged to my Sensei, Master David Nguy of Bonsai Jidai. It caught my eye when I saw it in his garden. Even though it was shaggy and forgotten in a corner, I could see the potential in it. I was drawn to the natural character of the deadwood reaching both up and down, and I imagined a softly cascading triangle of green framing it.
So in November of 2022 with the Sensei’s permission I did a first styling. I could see the some of the primaries had been set once before, but everything was still going to need manipulation. The tree was already destined to be a cascade, potted at a decent angle in a Chinese production semi-cascade pot. I conducted the initial styling without even thinking about an angle change.
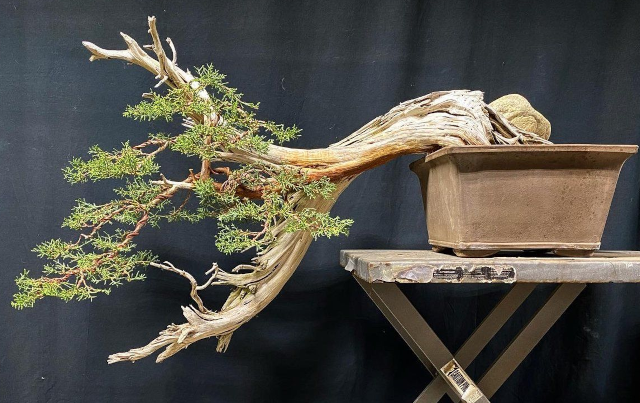
Initial Styling.
There were a few issues with the initial styling. Firstly, the tree needed to put on a lot of foliage. Even more importantly, that stick straight apex. The perfectly vertical apex branch was an eyesore, and made the foliage seem disconnected from the trunk. It’s a triangle of green floating off in space all by itself.
At the time I really wanted to bend that apex to the right to engage with the trunk more. The issue was that there was very little live vein on that branch, it was mostly a spire of deadwood, which would make it risky to bend. Sensei Nguy instructed me not to bend it, and who could blame him? If that branch broke during bending it would be years before a decent tree could be made from what remained. So, six months later I bought the tree and brought it home. Nobody to stop me now…
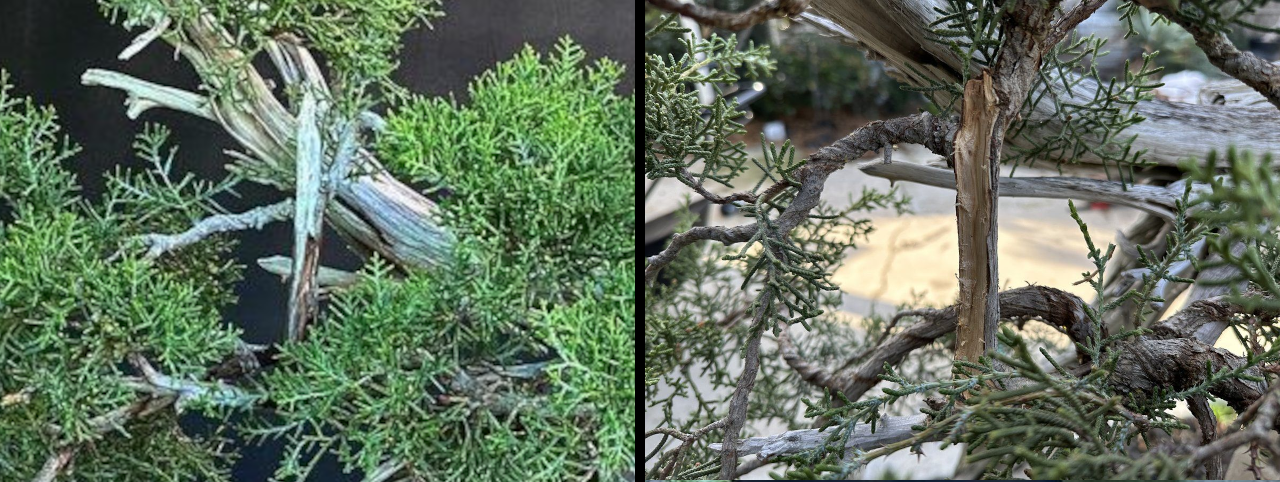
Removing the deadwood from the apical branch to prepare for bending.
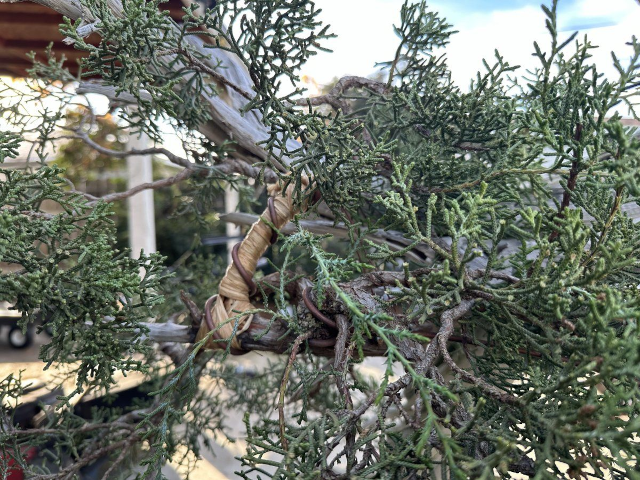
Bending the apex.
Spring 2023, at home and unsupervised and as the old saying goes, “Kill it or make it a bonsai.” There was no way I was going to be satisfied with the tree as is, so the apex needed to be bent.
I split and removed the deadwood spire from the apical branch and then carved away the remaining deadwood just shy of the live vein. In the six months between the initial styling and this work the tree had exploded with growth and the live vein in that area had grown as well, making the work much less risky. Now don’t get me wrong, I don’t want to make this seem like it was some monumental task. I’ve bent 4" inch thick trunks on California Junipers at Bonsai Jidai, and I felt very comfortable with this little branch, but there’s always some amount of risk involved. A wire spine and raffia will increase the safety margin.
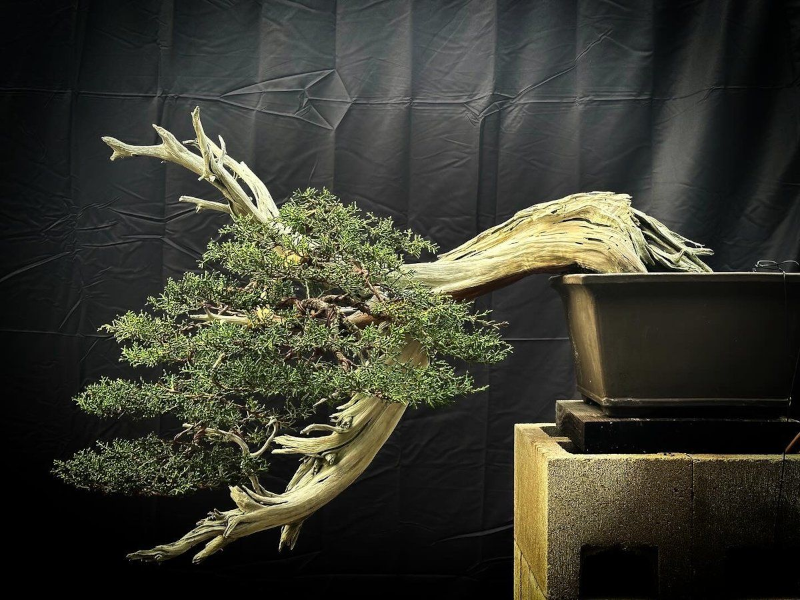
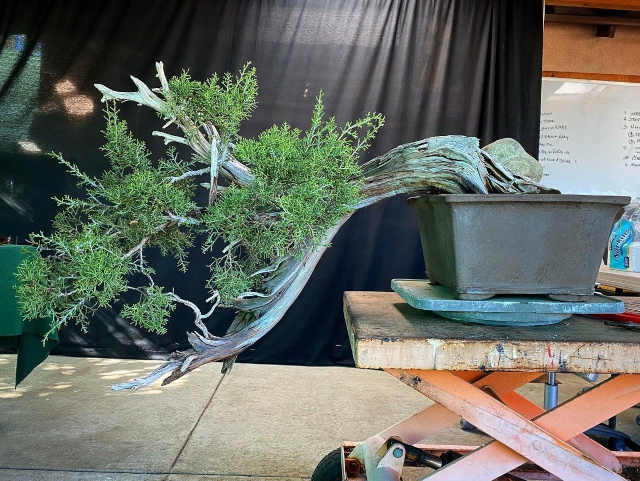
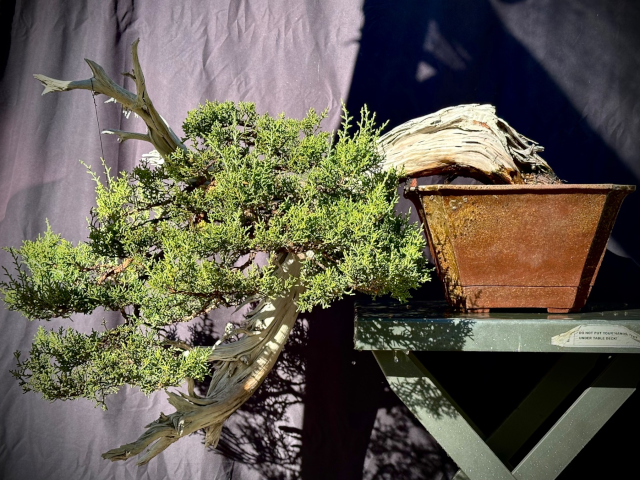
Second Styling.
Once the apical bend was complete the whole tree was rewired and styled. The new design makes the foliage and the trunk feel more unified. Compressing the apex and growing the branches in towards the pot help with this. There are whips growing out to be new back branches that will fill in more space on the lower right by the pot as well. It definitely feels like a tree now, not foliage sitting next to a trunk as before. But we still have issues. The distance of the foliage from the pot is still too great, the upper deadwood goes back away from the viewer a bit too much, and I’d prefer the apex to be below the highest point of the cascading trunk. Add to that the Chinese production pot, and I know the next repotting session will bring some changes.
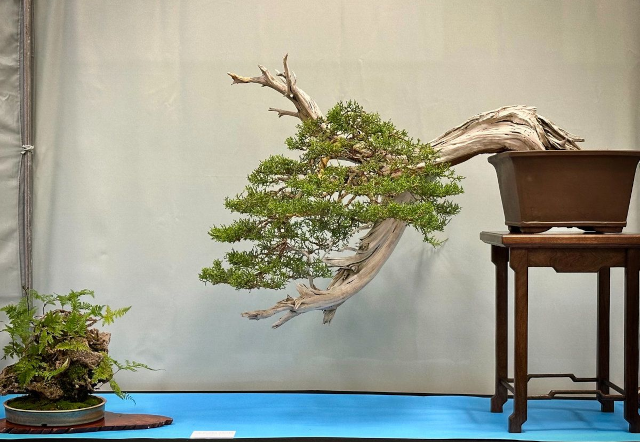
On display at the Chino Bonsai Club Exhibition, May 2024.
tokutake.
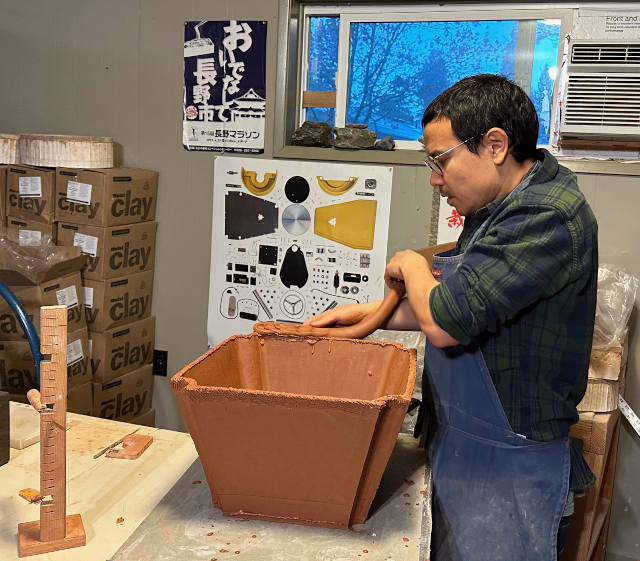
In November 2024 I visited my friend Nao Tokutake in Portland Oregon. If you haven’t heard of Nao, you should. He’s an extremely talented potter, one of the best in America, and a mere 15 hour drive from Southern California. Well worth the trip to hang out for a weekend styling trees, talking pottery, and making the new pot I had in mind for my cascade.
Nao used a California mined clay that he has blended to his specifications, and made the pot using slab walls and a hand formed lip. It was fired with ash in a gas kiln. Naturally I deserve half of the credit for making this pot, since I was instrumental in making the slip…
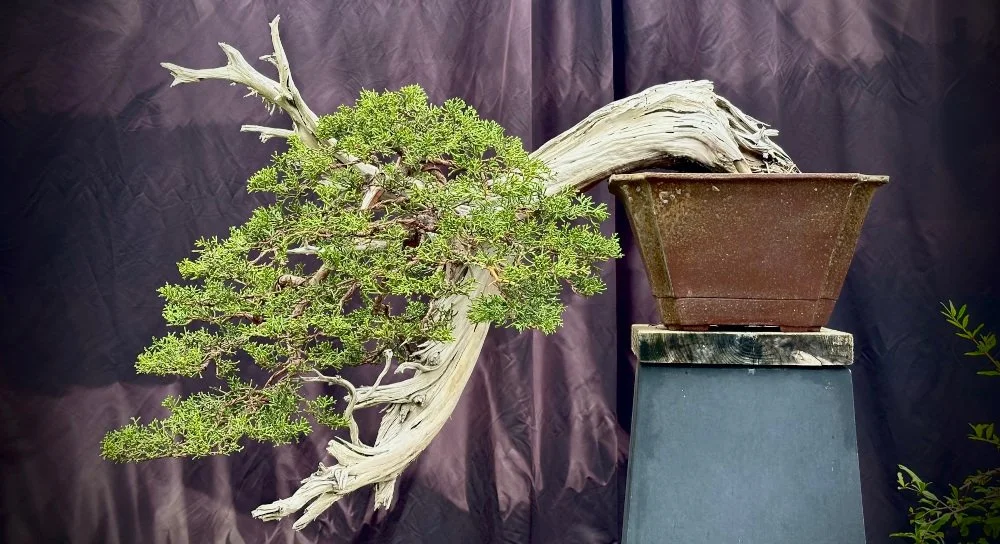
Repotted.
January 2025. The tree had been left to grow freely and now it was time to repot, with the assistance of my friends and fellow Chino Bonsai Club members Nick Romero and Jaiden Lee. The tree was repotted higher in the pot than before, with a counterclockwise rotation and increased downward angle. The increased angle will allow the foliage to be just below the high point of the trunk, and the rotation makes the deadwood more engaging to the viewer while also bringing the foliage in closer to the trunk and the pot, making for a more powerful image.
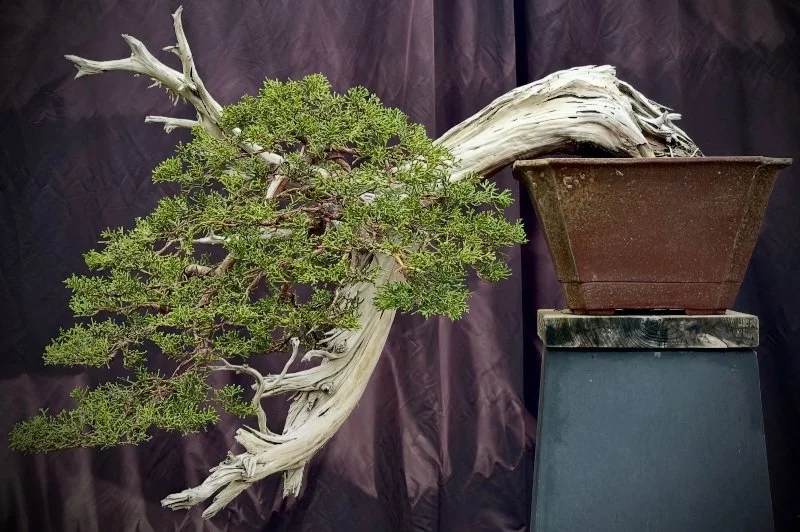
third styling.
May 2025. I removed a couple major branches that were no longer necessary and made the pads much smaller this time around. I had to rewire the entire tree because of the angle change. But as the tree grows into the new design it will be less and less reliant on wire. The structure of the branching is much improved over the last styling, and the foliage will grow strongly. The whips I had been growing out as back branches have thickened and matured, filling out the rear of the tree. Work in future will entail increasing pad density and thinning unnecessary branches. Additional negative space will be made in the next styling.